Make It Pro Without Going Broke: Building Your Creative Studio From the Ground Up
Start With Honesty, Not Gear Lists
Every aspiring musician or producer has fallen down the rabbit hole at least once. You open a browser tab to look up one piece of equipment, and three hours later you're comparing the acoustic properties of different foam panel densities and mentally spending $8,000 you don't have.
Let's pump the brakes on that.
Building a creative infrastructure that actually serves your work isn't about having the most gear — it's about having the right gear for where you are right now, and setting up systems that let you create consistently without friction. Some of the most iconic recordings in American music history were made in converted garages, spare bedrooms, and even closets. The space doesn't make the music. You do.
So before we talk about anything you should buy, let's talk about what you actually need.
Defining Your Creative Needs First
The single biggest mistake new creators make is buying equipment for the career they imagine rather than the work they're doing today. A solo singer-songwriter who records acoustic guitar and vocals has completely different infrastructure needs than a producer building electronic beats, which is totally different from a podcaster who wants to add music production to their workflow.
Spend some real time answering these questions before you spend a dollar:
- What am I actually making, and what does the finished product need to sound like?
- Am I recording live instruments, producing digitally, or some combination?
- Do I need to record other people, or just myself?
- What's my realistic budget — not aspirational, but actual?
- How much physical space do I have to work with?
Your answers to these questions should drive every purchasing decision that follows. Seriously, write them down. It'll save you from a lot of expensive buyer's remorse.
The Non-Negotiables: Where to Spend First
If you're starting from zero, there's a hierarchy to how you should allocate your budget. Some things matter enormously. Others can wait.
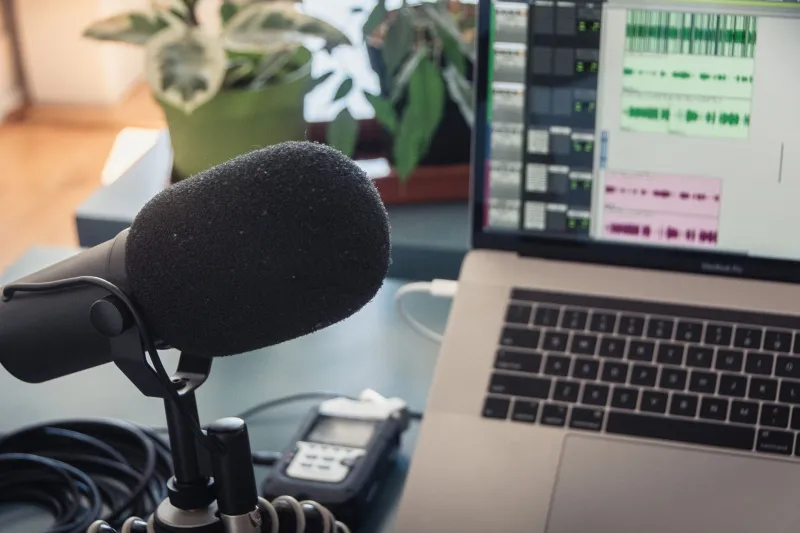
Your computer or primary device is the foundation everything else sits on. If you're on a tight budget, don't buy new gear while running a machine that can't handle your software. A used MacBook Pro or a solid Windows laptop with decent RAM (16GB minimum if you can swing it) will serve you better than brand new peripherals attached to a struggling processor.
Your audio interface is the next critical piece. This is what connects your microphone and instruments to your computer and determines the quality of everything you record. You don't need to spend a fortune here. The Focusrite Scarlett 2i2 has been a go-to recommendation for years because it delivers genuinely solid performance at an accessible price point — usually around $120-$160. For most solo creators, two inputs is plenty to start.
Your microphone matters more than most people think, but again, "better" doesn't have to mean "expensive." The Audio-Technica AT2020 is a large-diaphragm condenser mic that costs around $100 and records vocals and acoustic instruments beautifully. For dynamic mics — which handle louder sources and are more forgiving in untreated rooms — the Shure SM58 has been a workhorse of the industry for decades for good reason.
Headphones over monitors, at first. Studio monitors (speakers designed for mixing) are great, but they require an acoustically treated room to be useful. In an untreated bedroom, mixing on monitors will give you inaccurate results. A solid pair of closed-back studio headphones — the Sony MDR-7506 is a classic choice under $100 — will serve you better until your space is sorted.
The DIY Acoustic Treatment Playbook
Here's the thing about acoustic treatment: the physics are simple, even if the technical language sounds intimidating. You're trying to reduce unwanted reflections and echoes that color your recordings and make mixing harder.
You do not need to buy expensive foam panels to do this effectively.
Heavy curtains, bookshelves filled with books, thick rugs, and furniture with soft surfaces all absorb sound reflections. Recording in a walk-in closet full of hanging clothes is genuinely one of the best DIY vocal booth hacks available — the clothing absorbs reflections remarkably well.
If you want to go a step further without spending much, moving blankets (the kind you can get at U-Haul or Home Depot for around $10-$15 each) hung on walls create effective absorption panels. Build simple wooden frames, stretch the blankets over them, and you've got functional acoustic treatment for a fraction of the cost of commercial panels.
The goal is a "dead" sounding room — one where you don't hear obvious echoes when you clap your hands. You don't need perfection. You just need good enough.
Software: Free and Affordable Options That Are Actually Legit
The software landscape for creators has never been better, especially at the lower price points.
GarageBand is free on every Mac and iOS device, and it's more capable than its reputation suggests. Many professional artists have used it to create commercially released music. If you're on Apple hardware and haven't explored GarageBand seriously, start there.
Reaper is a full-featured Digital Audio Workstation (DAW) that costs $60 for a personal license — a fraction of Pro Tools or Logic Pro. It's used by professional producers and audio engineers globally, and its feature set rivals software that costs ten times as much.
LMMS is completely free and open-source, with a solid suite of instruments and effects built in. Great for electronic production and beat-making.
For plugins and virtual instruments, free options from Plugin Alliance, Native Instruments (their free Komplete Start bundle), and Spitfire Audio's LABS series give you genuinely high-quality sounds without spending anything.
Workflow Is Infrastructure Too
This one gets overlooked constantly: how you organize and protect your creative work is part of your infrastructure, and it costs almost nothing to get right.
Set up a consistent folder structure for your projects. Back everything up — at minimum, use a cloud service like Google Drive or iCloud for your project files. Losing a track you've been working on for weeks because of a hard drive failure is a gut-punch that's entirely preventable.
Develop a naming convention for your files and stick to it. Keep notes on your sessions — what worked, what didn't, what settings you used on a vocal chain that sounded great. These habits compound over time into a real creative efficiency advantage.
Growing Into Your Setup
The beautiful thing about building your studio incrementally is that each upgrade feels earned, and you'll make better decisions because you'll actually know what you need by the time you can afford it.
Start with what you have. Make something. Figure out what's actually limiting your work — not what gear YouTube says you should want, but what's genuinely holding back the music you're trying to make. Then solve that specific problem.
The artists who build sustainable creative practices aren't the ones who waited until they had the perfect setup. They're the ones who started making things with what they had, learned from it, and kept going.
Your bedroom studio is good enough to start. Start.